Blog

  • How to Use Nature Journaling to Spark Curiosity and Improve Observation Skills

    How to Use Nature Journaling to Spark Curiosity and Improve Observation Skills

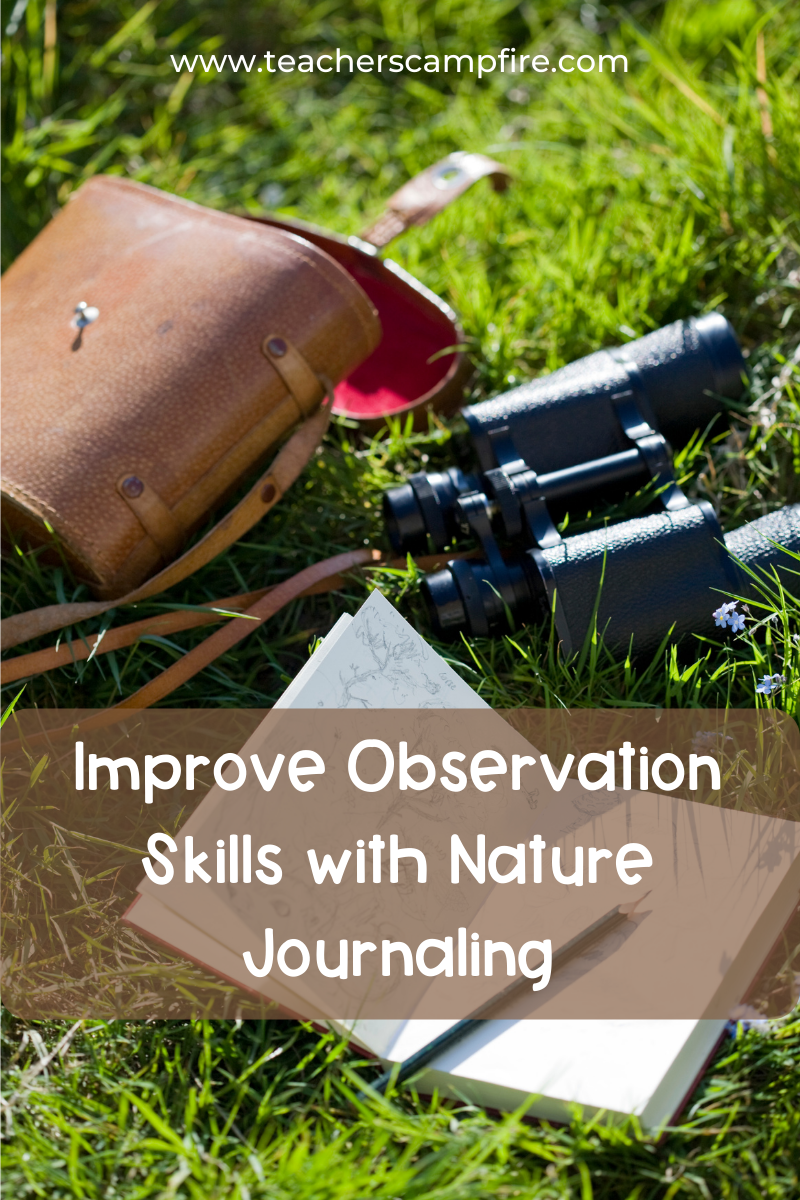
    What is Nature Journal

    Have you ever been outside and seen something that caught your eye? Do you wish you could draw like the scenes on postcards? Nature journaling is taking time to observe and record what you see using pictures, numbers, and words. You could sketch the view of the waterfall you hiked to or track the squirrels you see eating from your bird feeder. Maybe you want to draw your backyard every month of the year.

    How to Nature Journal

    There is no right or wrong way to write a nature journal. Find a spot, observe, and record. I recommend recording at least the date and location of your sketch. Location doesn’t have to be GPS coordinates; it could be the trail you’re on, a local park, or as simple as my backyard. Some people even add details like the time and weather. Many people just start sketching without recording any details.

    What Supplies do I need?

    You only need paper and a pencil to start nature journaling. As long as you have something to write with and something to write on you are good to go. I like to use a small sketchbook and a pencil in the field. If I have space in my backpack I may bring some markers or colored pencils just for fun. 

    What do I need to nature journal? journal, pencil
    All you need to start a nature journal is a pencil and paper.

    Some people bring other art supplies to add color and texture to their sketches. You may want markers, colored pencils, oil pastels, or watercolor paints. My preference is to sketch with a pencil in the field and then add color later when I’m home. Sometimes I will even take a picture on my phone of what I drew to reference as I color.

    Nature Journaling Ideas

    • Flowers or trees
    • Landscapes
    • Seasons – sketch the same place in each season
    • Animals 
    • Weather – clouds can be really neat 
    • Anything that catches your eye – that cool leaf on the ground or a trickle of water coming down the hillside

    Why you should use Nature Journaling for Kids in the Classroom

    You may be thinking this sounds like a cool weekend activity but why should I nature journal with my students? Let me give you a few reasons I believe nature journaling is valuable. First, nature journaling exposes children to nature and being outdoors. There is lots of research that says being outside in nature is good for our mental health. I’ve noticed many students aren’t comfortable sitting on the grass or just being outside when it isn’t recess time. 

    Second, nature journaling helps develop kids’ curiosity and observation skills. Many students may finish quickly when they first start their nature journals, but as they continue their curiosity will grow and they’ll notice more things. Thinking “there’s a tree” may become a study of what kind of tree or how old the tree is. Or seeing a squirrel may turn into tracking the squirrel’s movement.

    Improve observation skills with nature journaling
    Students can practice their observation skills by following their curiosity and sketching what they see.

    How to Teach Nature Journaling

    The most important thing about nature journaling is just to draw something. 

    It doesn’t have to be perfect – it just has to document your thinking. John Muir Laws offers 3 prompts to help students when nature journaling:” I notice”, “I wonder”, and “It reminds me of.” Here is how I like to start my first nature journal lesson.

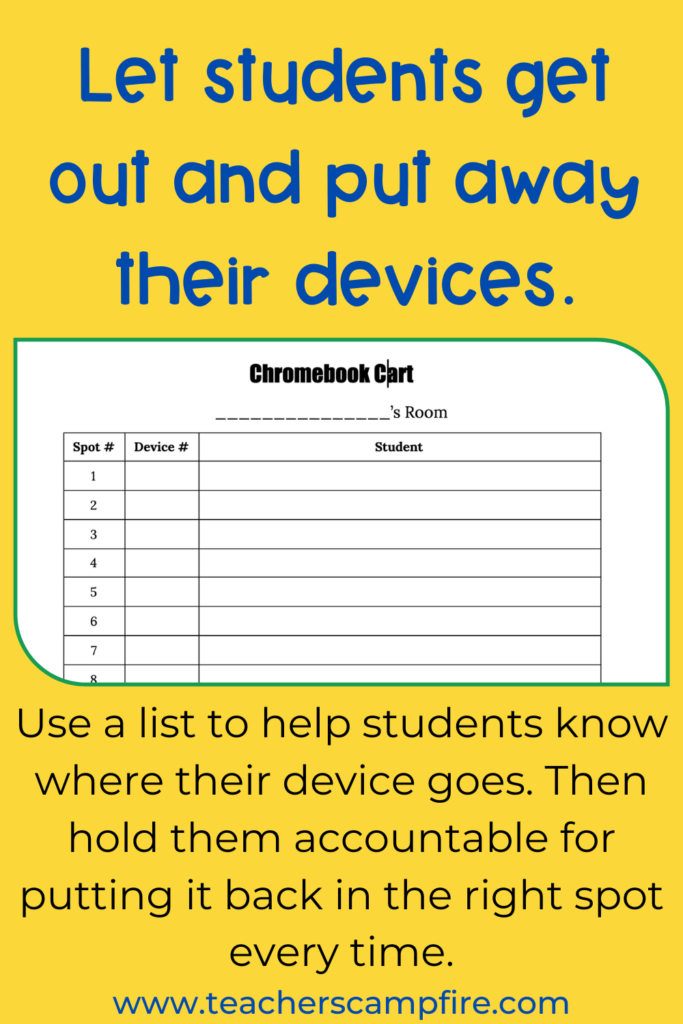
    Step 1 – Gather Supplies

    The essentials are a piece of paper and a pencil. (Take clipboards or something to write on.) If you want journals that you can use throughout the year I suggest a sketchbook because it doesn’t have lines and the pages are thicker if you decide to add markers or paints. When we got out I have my students carry their supplies and bring them back. 

    Step 2 – Prepare your Students

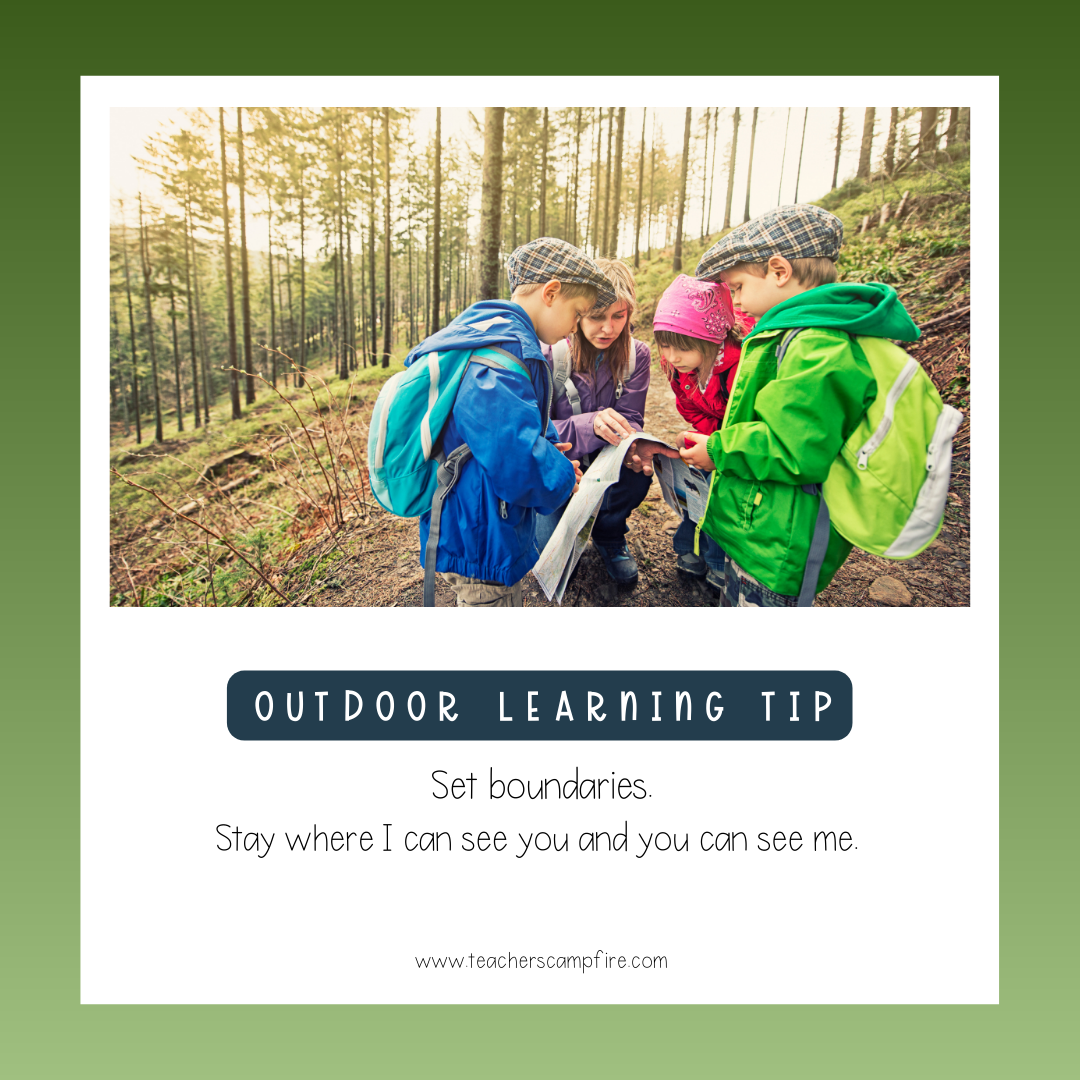
    Set expectations before you go outside! This way you have students’ attention and can answer questions before everyone spreads out. My rules are simple. Stay where I can see you and you can see me – if you look back and don’t see me you’re too far and need to come back. I will choose spots for students who wander too far. No talking during journal time. This is so that we can use our sense of hearing to experience the sounds around us. (Hint: Give students time afterward to share if they would like so they don’t have to share while they are sketching.) 

    outdoor learning tip
    Set boundaries for your students outdoors. It’s helpful to do this before heading out and when you get to a stopping point.

    Give students a template and the guiding questions before going into the field. You may sketch this on the board and have students copy it in the front of their journals so that always have it to reference. I like students to include the date in the top right corner. I also have students include words and drawings – their choice of how they use both.

    Step 3 – Go Nature Journaling

    Lead students to the spot where you will be journaling. Quickly review the expectations and then let them begin. Be sure to bring your journal and sketch along with your students. This is great modeling and even if you aren’t the best artist your students will be curious about what you’re sketching and observing.

    Nature Journaling Prompts for any Subject

    Science

    • Weather – especially changes in seasons. Return to the same spot in each season and watch how nature changes. Sketch the clouds. 
    • Animals – Kids love animals and there are so many things you can sketch. Use your sketches to identify the animals you see using field guides. Classify the animals you see. Label animal structures and how those structures help the animal survive.
    • Plants – Classify and identify plants. Label plant structures.
    • Landforms – Have students sketch a landscape and then label the different landforms they see. 

    Art

    • Perspective – Practice drawing something from different angles.
    • Depth – Use foreground, middle ground, and background when sketching.
    • Colors – Study the colors you see in nature.
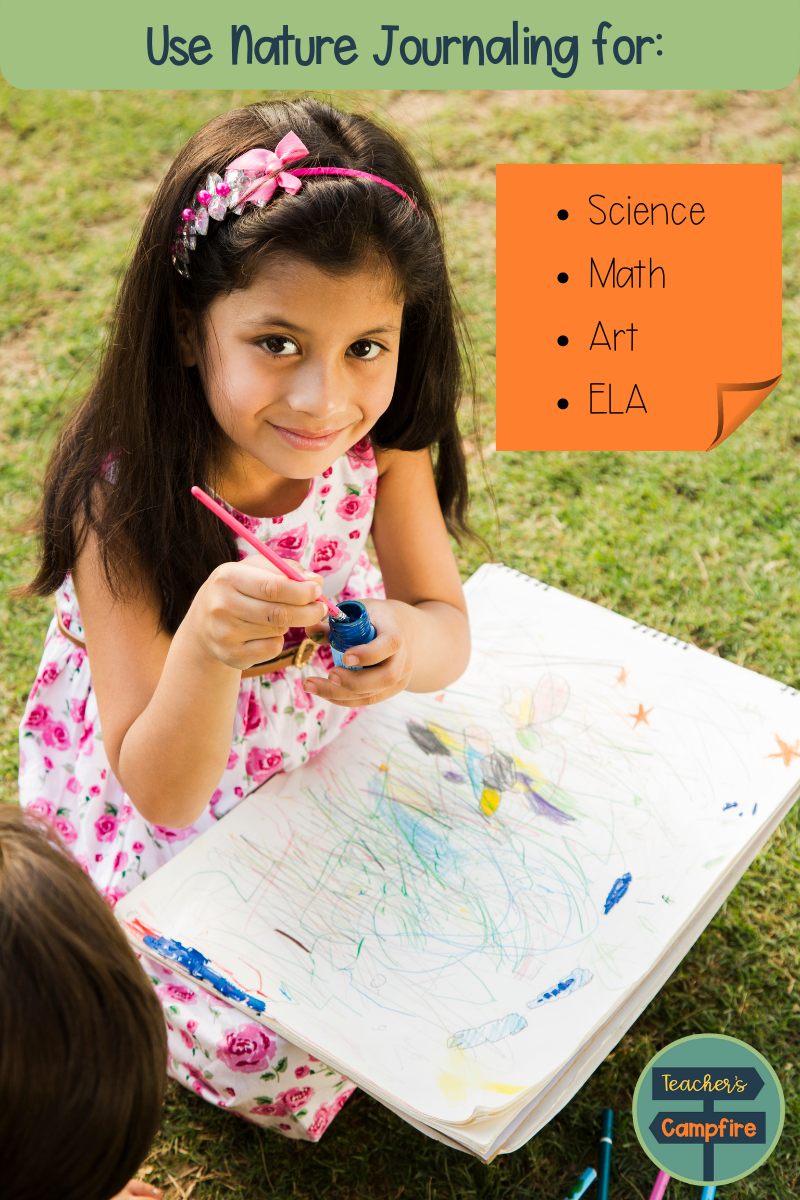
    use nature journaling for science, math, art, and ELA
    You can use nature journaling for kids in science, math, art, and ELA.

    ELA

    • Sketch and then write a poem to describe what you saw. 
    • Practice labels and non-fiction text features.
    • How-to writing – describe how to draw something

    Math

    • Counting – trees, clouds, animals, etc.
    • Find patterns – look for the Fibonacci sequence
    • Population studies

    Related Links

  • 5 Tips to Boost Technology Routines to make Technology in the Classroom Easy

    5 Tips to Boost Technology Routines to make Technology in the Classroom Easy

    Keeping devices organized and charged is a challenge in any classroom. There aren’t enough plugs or students don’t know how to put them away. Gaining control of the devices in your classroom and teaching students how to help you take care of the devices will make your classroom run smoother and help you love using technology instead of dreading the set-up and clean-up required. Here are my top 5 tips for how to use technology in the classroom.

    Create a System

    The first key to managing classroom devices is to create systems and procedures for how you will use them. This includes getting devices out, using them, cleaning, and putting them away. The more detailed you can make these the easier you will be able to teach them to kids. 

    Remember to consider all possibilities for how your class will use devices. Will you use them in small groups or centers? Whole class? Will devices be an early finisher option? Knowing how you will use technology in the classroom will help you create the systems and procedures for students.

    Think about where your cart or charging station will be in your classroom. Make sure there are enough outlets or that you have a power strip. Consider placing your cart away from high traffic areas since putting away devices and plugging them in typically takes some time – you don’t want a traffic jam waiting for students to plug in their devices.

    Assign Devices to Students

    If you have 1:1 devices this is really simple. Grab a class list and assign a device to each student. For multiple classes, you can make a list per class period. That way each device is assigned to a student in each period. For shared devices, you can assign each device to pairs or groups of students or you may want the flexibility for anyone to use any device.

    Most schools will have a number already on the device when they tag them for inventory. I use the tag number when making my list. (If you are using a long number like a barcode try using the last 3-4 digits.) You can also assign by the slot number in your cart. Once you assign devices make sure the list is posted on or near your cart that way students don’t have to ask whenever they forget which device is theirs.

    Post Visuals

    As silly as it seems, take pictures of what your devices should look like. Take a picture of your cart with the devices plugged in correctly and charging. Take a picture of what it looks like when students have a device at their desks. Pictures help jog student’s memory and are a great tool for younger learners who may not be able to read directions yet. Pictures are also great for a quick refresh when the routines have gotten sloppy and forgotten.

    Once you’ve taken the pictures label the important parts – such as where the charger plugs in and how to know it’s charging or carrying your device with two hands. Labels help draw student’s attention to details that may be forgotten or overlooked.

    Make Technology a Class Job

    If students use technology in the classroom then they should take on part of the responsibility for caring for the devices. This is a great way to start teaching responsibility to younger students and to help students understand the value (both monetary and for learning) of your classroom devices.

    Choose 1-2 responsible students to be in charge of your classroom devices. These students can help hand out devices and put them away. They can also double-check to make sure all devices are plugged in and charging at the end of class. 

    You can also have students who are experts on the websites or apps you use in class. These students can assist classmates who may be stuck. Make sure they know where to find login information since this is probably the number one reason students get stuck on their devices.

    Model and Practice

    The key to successfully use technology in the classroom is practice, practice, practice! If you only use devices once a month or once a quarter students will forget what to do every time. Think of technology as one of the classroom procedures you teach at the beginning of the year. When you teach students to line up for the hallway, you practice over and over again until it’s ingrained in them.  Here are some technology procedures you will want to model and practice.

    Model how you want student to get out and put away devices so they’re always charged and ready to go.

    Getting Out Devices

    Students need to know how to get their devices. I teach my students how to get our Chromebooks out of the cart and carry them to their desks. Even my kindergarteners carry their Chromebooks after the first couple of weeks. It saves me so much time for students to get their own devices than for me to hand them out.

    First, show students where the cart is and how to open it. Then, tell students which device they will be getting. My class always had a number they put on their papers for me to easily alphabetize assignments so we used those same numbers for our Chromebook cart. Show students how to unplug the device and remove it from the cart. Then, model how to carry the device to their desks. I always remind students that devices should be carried with two hands.

    After you have explained and modeled the procedure go ahead and let students get their devices. Stand by the cart so you can show each student where their device is in the cart and you can clarify any directions as needed. This will take a while the first few times and that’s ok. Plan for an extra 5-10 minutes to get out devices the first week or two. We want students to practice correctly now so that in a month they can do it quickly and without our help.

    Assign each student a device and make them responsible for that device.

    Logging In

    Logging in is one of the hardest things to teach students because they have to be accurate and precise. I make login cards for my students each year that are bookmarks. Students keep it in their pencil pouch or I taped it to their desks. I also always keep a folder or binder with the class login lists to lookup log-in information when someone forgets. I keep this login information with my teacher binder because I don’t want students looking for other’s usernames or passwords. When students ask for their login, I like to write it on a sticky note so they can then stick that somewhere safe like a planner or notebook.  

    Once students have their username and password, make sure they know that it has to be typed exactly like it’s written. I always take this opportunity to make sure students know how to make capital letters (shift key not caps lock) and where to find common symbols (@, -, ., etc.). Again, this will take extra time for a while until students learn where all the characters are on the keyboard. Resist the temptation to sign everyone in because you can type faster. Typing is an essential skill for today’s students and usernames and passwords are a great way to practice.

    If you have primary students who are still learning their letters, I highly recommend using Clever to log in. Clever is a single sign-on platform that is free for schools and you can connect many commonly used websites so students log in once to Clever and then Clever automatically logs them into the connected sites. My favorite feature is the badges. Clever creates QR code badges that students can scan to log in – these works for Chromebook login too! These badges are magical for kindergarten students. It does take some technical setup to use the badges for Chromebook sign-in. Talk to your IT department and see if they will set it up for you.

    Putting Devices Away

    Remember to teach students how to sign out of the website and the device so that the next user won’t see their stuff. Cleaning up is very similar to getting out devices. Model how you would like students to put away their devices and then stand by the cart to help students as needed and ensure they put their devices in the correct spot. I like to have students just put the devices in and then my tech helpers will go back through and plug them all in. This saves time because students aren’t hunting the chord and it’s just easier to plug them in once every device is put away.

    This is also the time to make sure students know where to keep their login cards or login information. Giving them a safe and consistent place is key. I make my littles turn them into me and I keep them in a basket on top of the Chromebook cart. For my older elementary students, I like to use login cards as a way to teach responsibility so I show students how to keep their cards in their pencil pouch. The first couple of weeks I remind students to put them away and then it becomes the student’s responsibility.

    Ready to get started? Grab your forms now!

  • Teaching Keyboarding to Kindergarten

    Teaching Keyboarding to Kindergarten

    Fail, fail, fail

    Teaching keyboarding to kindergarten is an adventure to say the least. As my first year teaching kindergarten STEM I had researched and found tips for getting littles (K-2) on Chromebooks. With hybrid learning we were going to start with teaching keyboarding. It was time for my first class and I thought I was ready. That class was chaos. The kids couldn’t find the numbers and letters on the keyboard to log in so I ended up going 1 by 1 to log everyone on. I learned an important lesson: if they don’t know their letters they can’t type.

    I learned an important lesson: if they don’t know their letters they can’t type.

    Teach Letters First

    From this lesson I learned that I needed to teach letters first. Teaching keyboarding to kindergarten (or any grade) is rooted in literacy. Students must be able to recognize their letters before they can find those letters on the keyboard to be able to start typing. I found a typing program that introduced each letter and showed on the screen where the letter was. Many students still struggled.

    So I backed up even further to the foundation of reading – phonics. I started using songs to review letters at the beginning of class. We did letter identification activities on Seesaw. These activities paired with their reading lessons began to lead to slow progress.

    Practice Matching Upper and Lowercase Letters

    Even with making progress on their letter naming my students were still struggling to find the letters on the keyboard. The missing piece? Many typing programs show uppercase letters but Chromebooks have lowercase letters. My students knew their individual letters but couldn’t match the uppercase to the lowercase letter. So we began practicing.

    firefly-upper-and-lowercase-letter-matching
    Check out my firefly upper and lowercase letter matching activity.

    Practice, Practice, Practice

    The main key to success is practice. Practice letter naming, practicing matching upper and lowercase letters, and practice typing. The more they practice the easier it was and the faster they got.

    Practice typing and sight words with my read, trace, type activities.
  • School Morning Routine

    School Morning Routine

    I have always believed that your mornings can set you up for success. This has been particularly true for my years teaching in the classroom and remains true as a tech coach and STEM teacher. I wanted to share with you my current morning routine when I get to school. I will also share some changes I have made this year switching to a tech coach role.

    Tech Coach Morning Routine

    The first thing I do when I get into my classroom is turn on my computer to allow it time to boot up. My school laptop tends to be sluggish in the morning so this is the first thing I do to get it warmed up while I continue my routine.

    Next, I unpack my bags. I put my lunch in my mini-fridge and hang my coat. I will put away any items I have brought to school and if I left anything out I will clean off my workspace to start fresh.

    After unpacking, I am trying to start my day by checking my calendar for meetings and identifying 1-2 main to-do items. I will update my daily schedule at this point as needed. I always write down my meetings and to-do list on paper and I leave this paper under my laptop stand so I see it all day.

    By now my laptop is usually warmed up and I check email for any new tech support requests or last minute meetings. I will add these to my schedule and to-do list as needed. If there are tech emergencies I will handle those now. Learn more about how I plan for tech emergencies here. Once I attempt to clear my inbox I start on my to-do list.

    Student Arrival

    When we are in-person I offer Chromebook checkout for students who forgot their device and need one for the day. While I am waiting for students I will work on small paperwork tasks or replying to emails. If we are remote only I offer a coffee chat via Zoom for teachers to drop in and ask technology questions or drop in and chat. I have really enjoyed this. It gives me a chance to catch up with colleagues and answer individual questions. I love using the screen share in Zoom so teachers can show me exactly what they are seeing and I can guide them through the steps.

    Before COVID, I would stand in the hallway with my coffee and greet students. I hope to be able to return to this since I have missed greeting students and the hugs each morning. However, wearing a mask makes it hard to drink my coffee so I have focused on other things this year.

    Classroom Teacher Morning Routine

    When I was a classroom teacher I did everything through checking my email. I would also check my messaging app for parent messages. While my computer was warming up I would also write our schedule on the board and just tidy up any thing in the classroom that needed it.

    During arrival, I would stand in the hallway with my coffee and greet students as they came in. I would chat with colleagues and answer any student questions. My students always had morning work on their desk to complete after they unpacked.

  • Top 5 Things I Learned in 2020

    Top 5 Things I Learned in 2020

    2020 was a challenging year that turned teaching inside out and upside down. Here are the top 5 things I learned in 2020 – online and face-to-face teaching are not the same, organization and tech skills need to be explicitly taught, I have a passion for content creation, and students are incredibly resilient.

    Lesson 1

    Online Teaching and Learning is not the same as Face-to-Face

    The first thing I learned is that online and face-to-face teaching are very different. As we continued remote learning, I adapted, tried, failed, and tried again. I watched webinars and read articles to learn as much as possible and improve my online teaching. My main takeaway was that best practices for online teaching are not the same as best practices for in-person teaching in a classroom. What worked for me? Google Slides, Google Forms, and choice boards. I would put my lessons into Google Slides and then link to a Google Form to check for understanding at the end. I also enjoyed using choice boards so students could pick an activity that they wanted, and they could access and complete. This helped with some connectivity issues and device features (tablet vs. Chromebook vs. laptop) that sometimes prevented students from completing activities.

    Lesson 2

    Teach Organization

    The second thing I learned is that organization is a skill and it needs to be taught. Colleagues have always commented on my organization – even when I think I have a complete mess! Keeping track of online assignments, attendance, lesson planning, and content creation is a lot of moving pieces. I created my own systems and soon found something that worked, although it was still time-consuming. I also created systems for my students and families to help them keep track of assignments. Each week, I made a slide listing the assignments, and I linked each to the assignment on Google Classroom. One place for families to find everything for the week.

    Lesson 3

    Tech Skills also Need to be Taught

    Tech skills, like organization skills, need to be explicitly taught. Luckily, I had been using Google Classroom with my 4th graders all year. Google Classroom was how I distributed small group assignments during guided reading and math groups. My students were familiar with the navigation and many of the websites I linked to frequently. This helped my families tremendously because they were not learning a brand new platform on top of the other changes everyone was navigating. We think students can learn technology instantly because they play video games, watch YouTube videos, and use social media. The truth is, these skills don’t always translate to the technology we use in the classroom. If you want students to use a website, you have to first teach them how to use it. This will prevent frustration and make the tech easier for you and your students.

    Lesson 4

    Plan for the Unexpected

    This lesson might be the most impactful for me. Plan out time for the unexpected things or requests that come up. For me, this looks like blocking off the first hour or two of Monday morning to address tech emergencies that inevitably pop up every Monday. I also schedule tech support time each day to answer teacher and student questions. I clear my email inbox or work on other tasks that can be easily interrupted if there are no requests to respond to. No more Monday morning frustration because tech support requests throw my whole plan off track. Now, because I have planned to address these, I start my day on track and sometimes even ahead if there are no requests that morning.

    Lesson 5

    My Passion for Content Creation

    I learned that I love creating digital lessons for my students. I was able to dig into the content and spend time creating lessons and activities I thought my students would enjoy. It was refreshing to be able to spend more time studying the content and lesson planning. I felt better prepared, and I enjoyed the process also. The downside is that it took me much longer to create and plan, but I enjoyed it and don’t want to go back to just following the curriculum and going through the motions. I was more confident in my teaching because I spent the time studying and adapting the curriculum.